Ref: O.Godfrey
The original brass Breitling pusher was broken and missing. The challenge was to find a replacement. After searching, it proved very difficult to find a suitable replacement and so the decision was made to manufacture a new one.
Rather than using soft brass for the new pusher I decided to make the new one from stainless steel.
I started with a steel rod, the diameter being slightly larger than the width of the original Breitling pusher.

This I turned down in my lathe to be slightly larger than I needed and continued from there. At this stage the metal is quite rough but as I have made it slightly bigger than required I have plenty of scope to polish the roughness out.

You may noting from the picture that I have turned a tail and the rough approximation of the width of the Breitling pusher head. I am now ready to part off the fleshed out pusher from the bulk of the steel rod, then I can start shaping the head to the required thickness, width and depth.


Now the pusher blank is parted away from the steel rod, I have mounted the blank in my pin vice and I can now start filing away the head until it is the correct thickness. I am using the existing start,stop pusher to gain the dimensions.


After filing the head down to be the correct thickness, I needed to reduce the height to match the original.

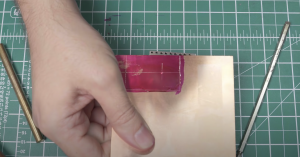
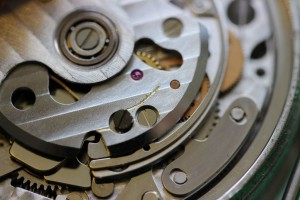
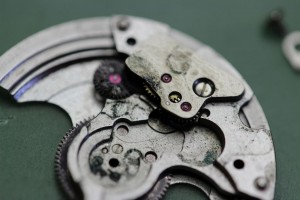
The pusher is now approximately the correct size, but it does need to engage with the watch movement. The return lever effectively locks the pusher into place by sliding into a groove on the tail of the pusher. This groove is different from the existing pusher so I have to gauge the correct spot to create the groove by retro fitting it to the movement and making adjustments until the correct spot is found.
Once found I have mounted the pusher in my vice and cut the groove.

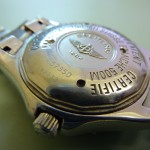
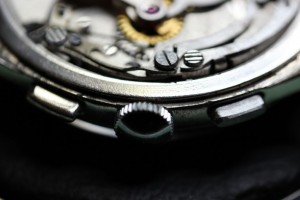
Now that is done I can try it on the watch for size. In the next picture you will see the pusher made from steel on the right and the original pusher made of brass on the left. I have used stainless steel as it is very tough and will likely last a lifetime. Obviously, being stainless steel, it will not rust or corrode either.

Now all that is left is to polish the new pusher and to test.
This short video clip shows the new pusher in operation.